Blink an LED: Which Board Should You Start With? (Uno, Nano, or ESP32

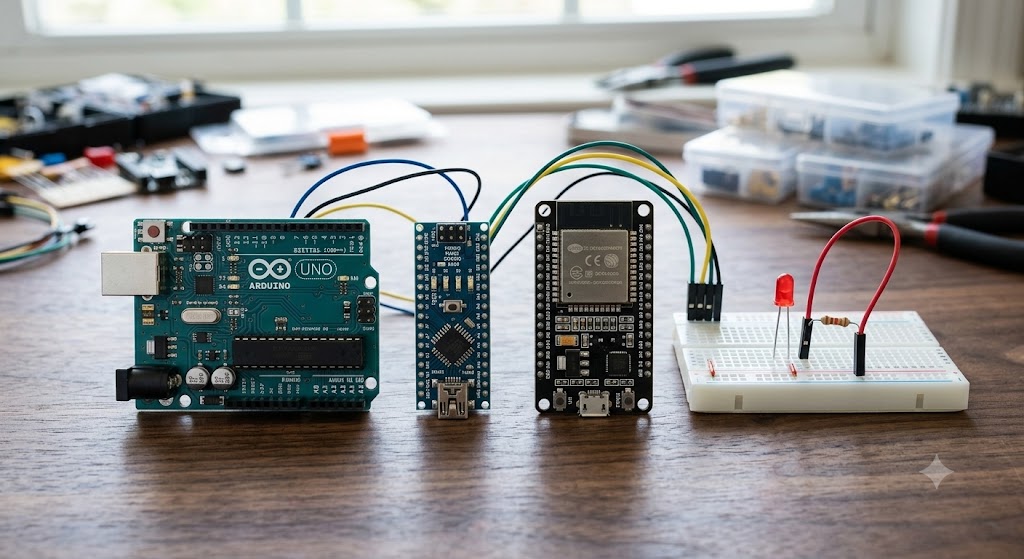
The “Hello World” of Electronics

If you are just starting your journey into IoT or robotics, there is no better first step than the classic “Blink LED” project. It’s the perfect way to make sure your board is set up correctly and your code is working.

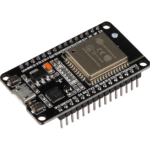
Today, we are looking at the three most popular boards I use at GadgetGo: the Arduino Uno, the Arduino Nano, and the ESP32.

The Boards at a Glance

Not sure which one is right for your project? Here is a quick breakdown:

  • Arduino Uno: The classic. Best for learning and easy-to-use connections.

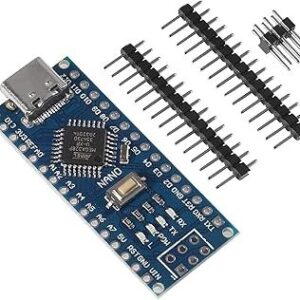
  • Arduino Nano: The compact king. Perfect for small projects where space is limited.

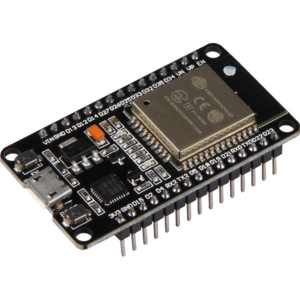
  • ESP32: The powerhouse. Includes built-in Wi-Fi and Bluetooth for when you are ready to take your project online.

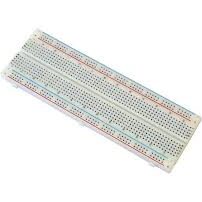
Getting Started: What You Need

To follow along, you’ll need a few essentials. You can find all of these in our shop:

The Wiring Guide

The wiring is consistent for all three boards:

  1. Connect the long leg (Anode) of the LED to the Digital Pin (e.g., Pin 13 or D2).

  2. Connect the short leg (Cathode) to the GND (Ground) pin through your 220Ω resistor.

The Code

The great thing is that the logic is the same! Just make sure to select the correct board in your Arduino IDE menu.

C++

 
// Simple Blink Code
int ledPin = 13; // Change to D2 for ESP32

void setup() {
  pinMode(ledPin, OUTPUT);
}

void loop() {
  digitalWrite(ledPin, HIGH);
  delay(1000); // Wait for a second
  digitalWrite(ledPin, LOW);
  delay(1000); // Wait for a second
}

Need Help?

Building your first circuit is a big deal! If you run into any trouble, send me a message on the [GadgetGo Facebook Page] or stop by the shop. I’m always happy to help you debug your code or help you pick the right board for your next project.

Ready to start building? Grab your components above:


Leave a Comment

Your email address will not be published. Required fields are marked *